How to create loopback
interface in cisco packet trace
1. Let me tell you what is need of loopback over network.
In each router there are many interfaces like ethernet, fastEthernet,
GigabitEthernet, console. All interfaces have different different IPs. It is
difficult to manage whole network for network administrator. So network
administrator creates loopback IP for each devices for his or her comfort.
2. So lets how do we create Loopback IP. We are taking 2
routers and one PC which are connected through cross over cable. Assign IP to
each connect port. As given in the picture below.

3. For example I am going to create loopback IP for
router0 192.168.5.1 and for router1 192.168.10.1 . Loopback ID is required for
creation of interface. We can put as per our choice. As I put loopback 1. Same
we will do for Router0.

4. Loopback has been created. For testing we need to
login by telnet so that we can check loopback is accessible from remote
location. Below are commands to create telnet.
Router#config
t
Router(config)#line
vty 0 15
Router(config-line)#pass
Router(config-line)#password
cisco
Router(config-line)#login
Router(config-line)#exit
Router(config)#
Router(config)#ena
Router(config)#enable
secret cisco
Router(config)#
Router(config)#
Router(config)#
Router(config)#exit
Router#
5.
Now we will check it from PC>Desktop>Command
Prompt

6.
It is accessible from remote location. By loopback IP
192.168.5.1 user can access router. He or she can configure any thing on device.
Instead of keeping all IPs of each port, one loopback IP is good.
7.
Kindly put comment on comment box for any concern or
suggestion.
|
|---|

Hi all, welcome to this blog—your space to turn networking knowledge into practical skills. Here, we learn, collaborate, and support each other in the evolving world of networks. Ask questions, share insights, and lend expertise to those in need. Together, we build a vibrant, helpful community where every voice matters. Let’s grow and discover together—your contributions make a difference!
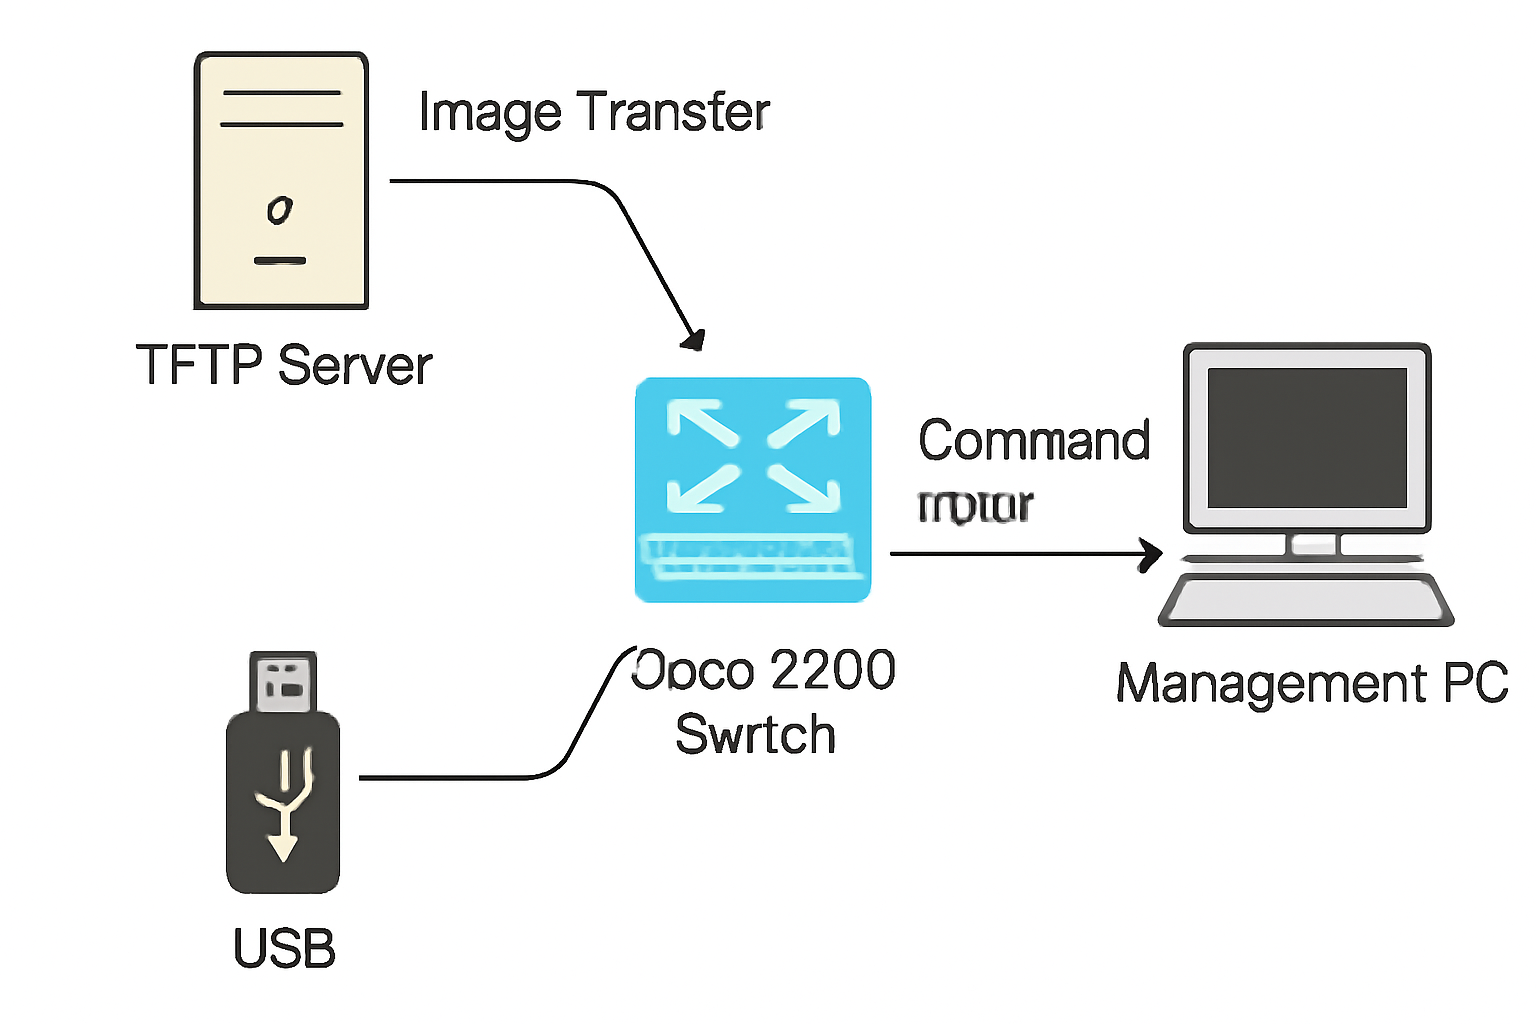
Upgrade Cisco 9200 switch step by step
Here is a step-by-step guide to upgrading a Cisco Catalyst 9200 switch in Install Mode: Clean up inactive installations : Use the command i...
-
 How to create web server on packet tracer 1. In this lesson we will learn about how to create first web page on cisco packet tracer tha...
 -
 Configuration of mail server on cisco packet tracer 1. In this tutorial we will learn how to set mail server on cisco packet trac...
 -
 How to set IOT(AC and Solar panel) on cisco packet tracer 1. In this lesson we will learn about adding IOT devices cisco packet tr...
No comments:
Post a Comment