
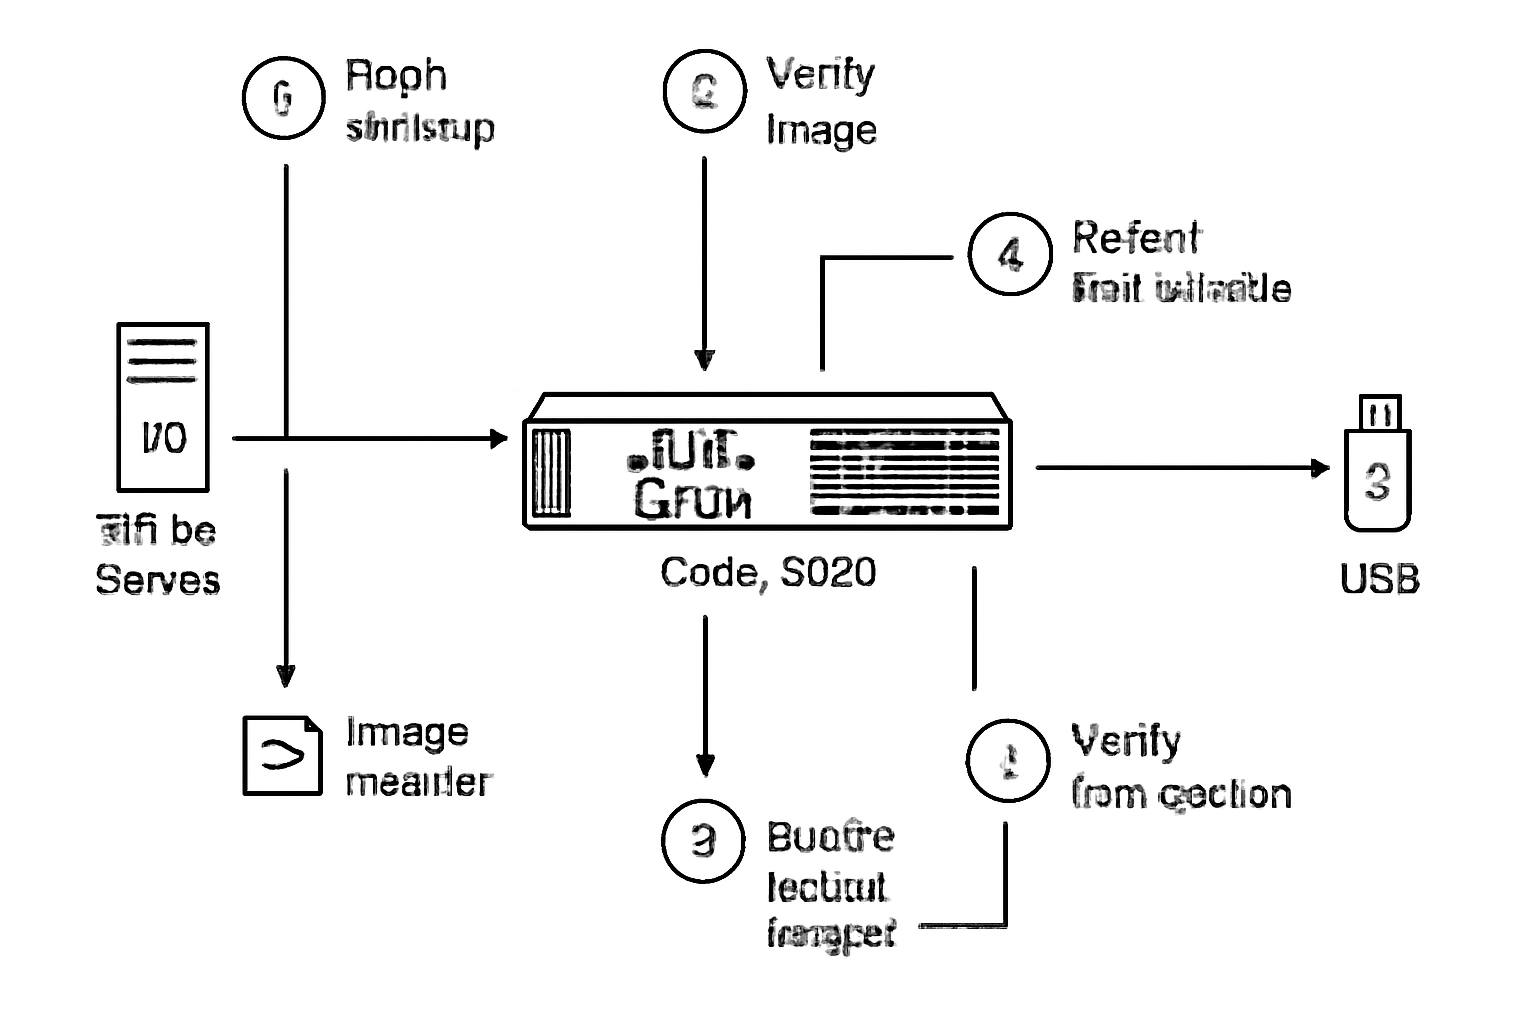
Here is a step-by-step guide to upgrading a Cisco Catalyst 9200 switch in Install Mode:
Clean up inactive installations:
Use the commandinstall remove inactiveto clean up and remove any inactive software images from the switch flash.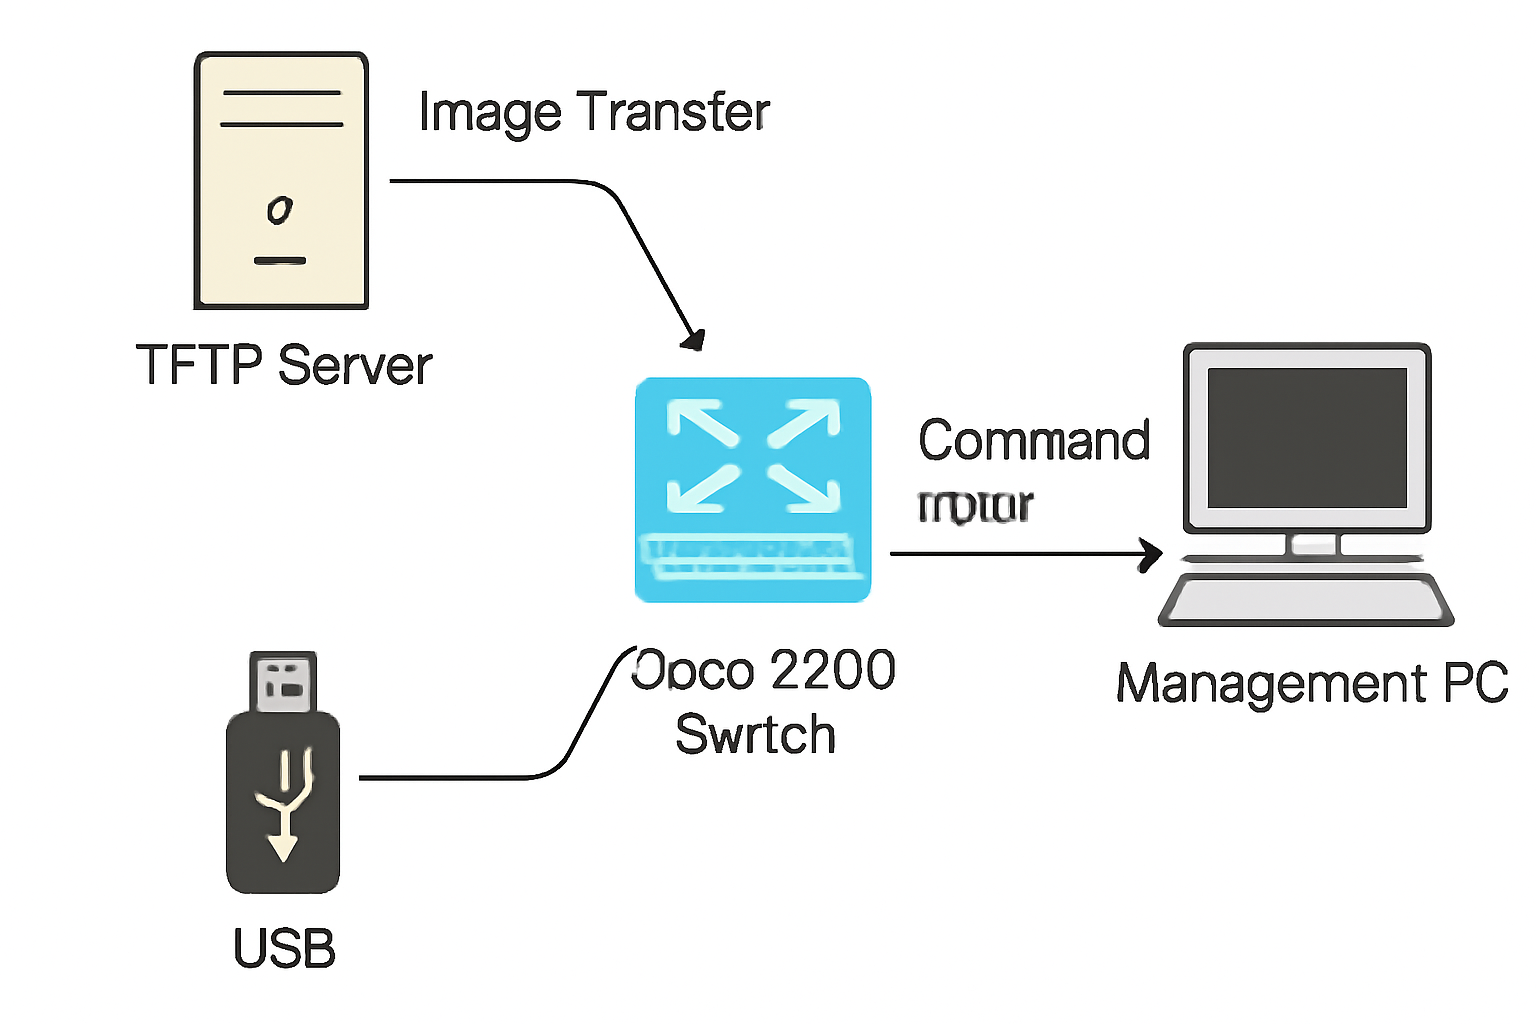
Copy the new image to the switch:
Download the desired IOS XE image from Cisco's official website, then copy it to the switch flash. For example:copy tftp://<tftp_server_ip>/cat9k_lite_iosxe.x.x.x.bin flash:
or if using USB:copy usbflash0:cat9k_lite_iosxe.x.x.x.bin flash:Verify the new image on the flash:
Usedir flash:to confirm the image is present on the switch.
Optionally verify integrity with checksums such as MD5.Set the boot variable to the package configuration file:
Enter global config mode and set the boot variable to the package file:configure terminal no boot manual boot system flash:packages.conf end write memoryInstall and activate the new image:
Use the install command to add, activate, and commit the new image:install add file flash:cat9k_lite_iosxe.x.x.x.bin activate commitApprove the switch reload prompt:
After the image installation, approve the reload when prompted so the switch reboots with the new IOS.Verify the upgrade:
After reload, check the running version with:show version
Confirm the switch is running the new software.Clean up again:
Optionally, runinstall remove inactiveto remove old images and free flash space.
This procedure minimizes downtime and ensures the switch boots the new image in install mode correctly. The entire process typically takes about 15-20 minutes for a single switch.


No comments:
Post a Comment